ERDAS
Lab Materials
Download this: Landsat 8 Image
Lab Content
Objective
Students will create a composite, subset, reclassify and analyze.
Procedure
- Open Erdas Imagine
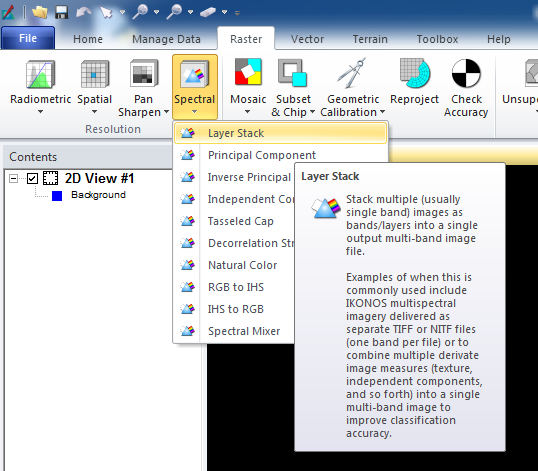
Layer Stacking with Erdas Imagine
One the Raster tab on the Menu ribbon, select the Spectral dropdown in the resolution tools and open the Layer Stack tool.
On the Layer Stack tool we need to select the input files (the individual TIFF images that were delivered to us in our Landsat data) and specify the output file (where the new multi-layer image will be created).

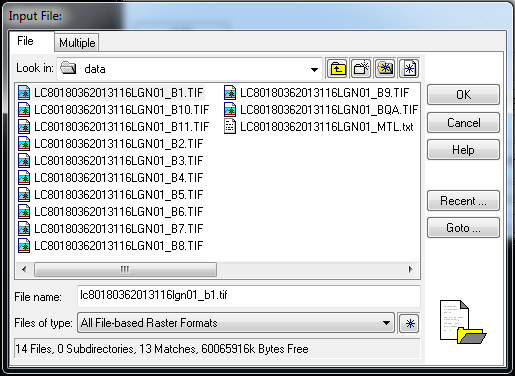
Start by specifying the input files. Navigate to your data folder and select the band one image. Be sure to change the File of type dropdown on the bottom of the input file menu to All File-based Raster Formats or TIFF so that your files will be visible in the selector. Once you have selected the file hit OK.
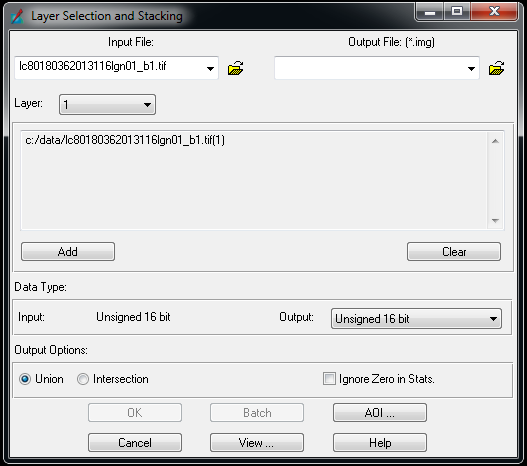
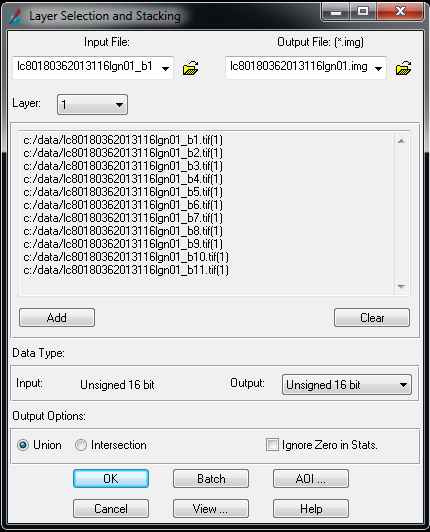
Once you have selected the file. Press the Add button to add it to the layer list. Repeat this process with all of the other images. Be sure that the order of the bands in the list corresponds to the actual band number of the file. If you put the bands in the wrong order the layer number of the image layers will not correspond to the Landsat band number.
Once all bands have been selected and added as layers for the new image, specify the output file location and file type. You also have to specify the name of the file. Give the file the name of the original Landsat data: LC80190362015257LGN00 Once you?ve named the file hit the OK button to launch the layer stacking process.
Open the resulting image and review it in Erdas.
Creating A Subset Image In Erdas Imagine
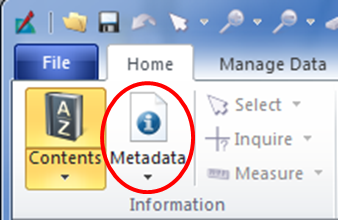
Pull up the image LC80180362013116LGN01 that you created for the Compositing Images lab into an Imagine viewer. Click on the ?i? button on the viewer toolbar to get the coordinate/projection info of the image.
Pull up the HUC12 watershed boundary shapefile, HUC12_031300010305.shp, from the LabMaterials folder. Click on the ?i? button on the viewer toolbar to get the coordinate/projection info of the shapefile.
Make sure that the image to be subset, and the shape file to be used for the ?cookie cut? have the same projection and datum. If not, use ArcTools to reproject the shapefile to the same projection as the image.
Select the viewer that the shape file is in and go to the File–> New –> 2D View –> AOI Layer.
In the viewer where you have the shapefile, click on the shapefile and it will turn to a different color to indicate that it has been selected (yellow).
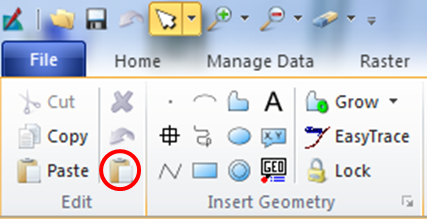
Select the AOI layer that you just made (by clicking on it once over in the contents window) and go to the drawing tab and then over to the box that says Edit and click on the Paste from Selected Object icon.
Save the AOI layer to your folder. This is done by right clicking on it in the Content window and selecting Save Layer As.
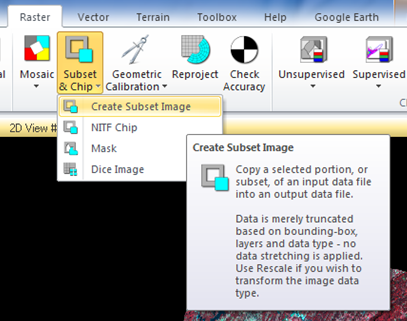
Go to the Raster tab and then to Subset & Chip, then click on Create Subset Image.
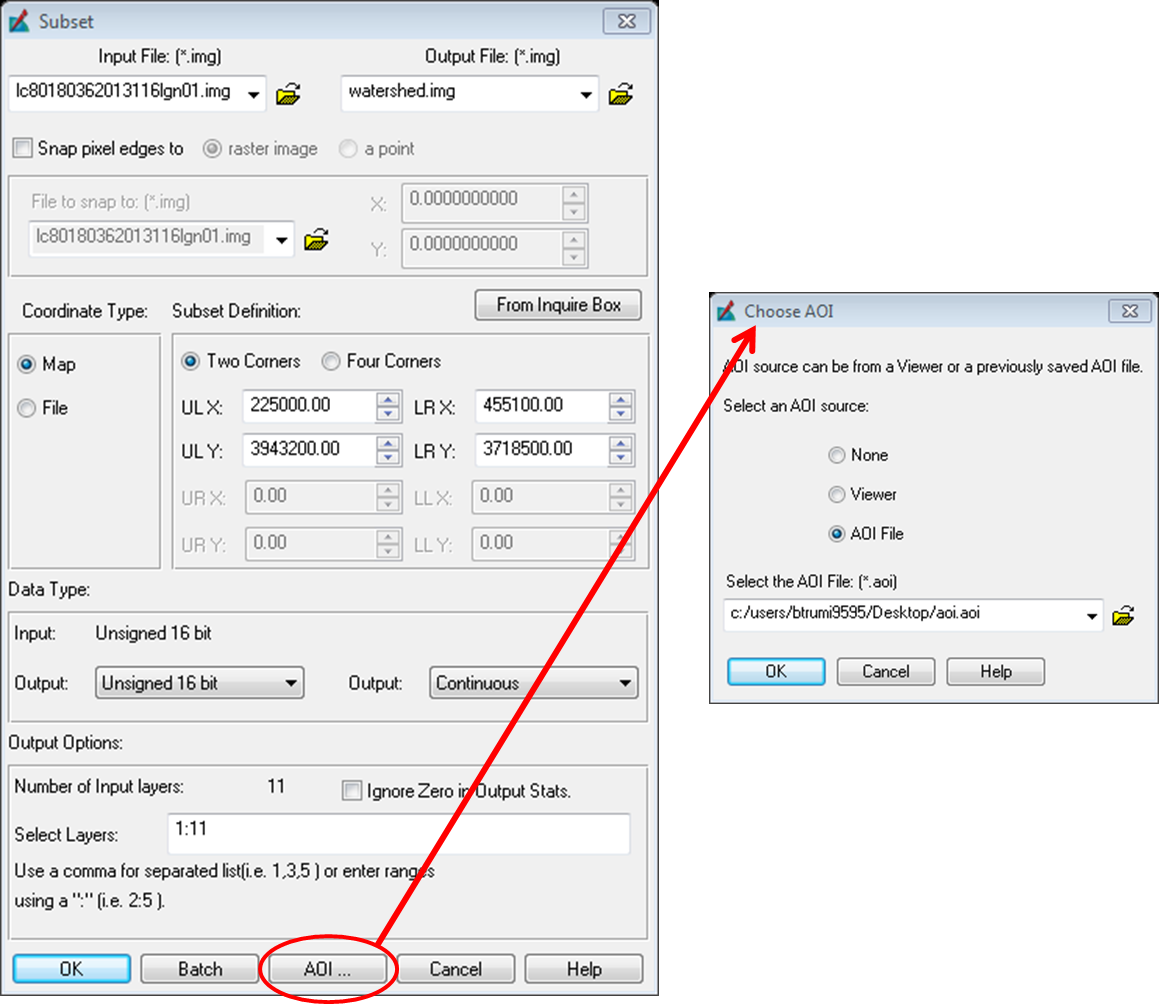
Save the output File as watershed.img. Click on AOI and check the box for File and specify it to be the AOI layer that you saved earlier. Click Ok and run the process, once finished open up the output and check to make sure the process was done correctly.